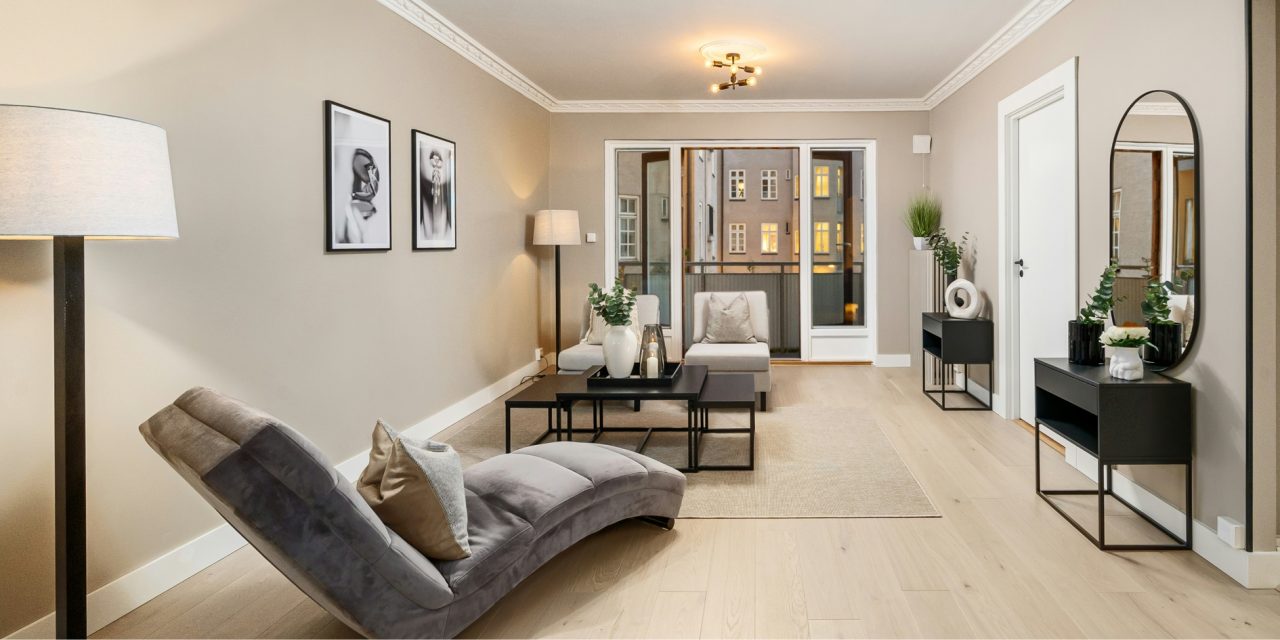
Creating a luxurious home environment doesn’t always require expensive renovations or designer budgets. In many cases, the most sophisticated interiors are the result of thoughtful design choices, strategic styling, and a clear understanding of how small details influence the overall atmosphere of a space.
Interior designers often rely on a set of practical principles to elevate everyday rooms—carefully balancing color, texture, lighting, and layout to create an environment that feels refined and intentional. These techniques allow homeowners to achieve a polished, high-end aesthetic while working within realistic budgets.
Before diving into specific upgrades, it helps to understand the foundational ideas that make affordable transformations possible. The following practical tips and guides highlight simple ways to approach home styling so that even modest improvements can create a noticeably more elegant living space.
Installation Tips
Achieve bubble-free results in about 45 minutes using these proven techniques that help prevent peeling and lifting corners. These steps help peel-and-stick wallpaper deliver a polished, high-end appearance without professional installation.
Start with proper preparation to set up success. Acclimating the wallpaper inside the room before installing helps it adjust to the environment and reduces the chance of future issues.
- Acclimate wallpaper in the room for 48 hours to match conditions.
- Use 120-grit sandpaper on textured walls for a smoother surface.
- Mix a 1:10 soap-and-water solution to allow gentle repositioning during application.
- Work in 2-foot sections to maintain control and avoid wrinkles.
- Roll seams using a rubber brayer (about $8) for strong adhesion.
- Trim edges with a fresh razor blade for clean, precise cuts.
Avoid common mistakes such as skipping primer on glossy paint. Applying a primer like Zinsser helps the adhesive grip properly and prevents peeling over time.
Gather these essential tools before starting the installation process:
- 120-grit sandpaper
- Utility knife with fresh blades
- Rubber brayer
- Level
- Measuring tape
- Spray bottle with soap solution
- Plastic smoother
- Drop cloth
These simple tools make installation faster and cleaner while protecting floors and surrounding surfaces.
| Tool | Purpose |
| Rubber brayer | Presses seams flat |
| Fresh razor blade | Trims excess cleanly |
| 120-grit sandpaper | Smooths textured surfaces |
| Level | Ensures straight alignment |
| Spray bottle | Applies repositioning solution |
With these preparation steps, peel-and-stick wallpaper can deliver a refined look without the cost or complexity of traditional wall treatments.
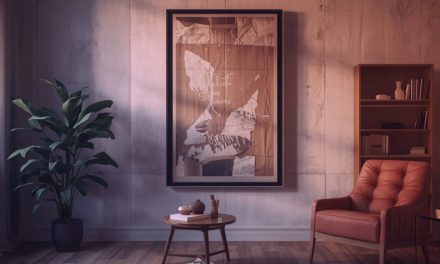
Framing on a Budget
Creating a gallery wall is one of the simplest ways to elevate a room, and it does not require expensive frames or custom art. With a mix of affordable sources and a bit of creativity, you can build a polished display that looks thoughtfully curated.
Start with IKEA RIBBA 8×10 frames, which cost around $4.99 each, and add matboard for approximately $1.50. Their clean lines work well with both photos and prints.
Another option is Dollar Tree frames, which can be spray-painted gold or bronze for a vintage-inspired finish. A metallic spray such as **Rust‑Oleum oil-rubbed bronze can give inexpensive frames a more antique appearance.
Other budget sources include:
- Facebook Marketplace, where frames often sell for $1–$3 each
- Amazon bulk poster frames (a 12-pack for about $22)
- DIY frames made from comic board and washi tape for eclectic designs
Mixing different frame sizes and finishes helps create visual depth and gives the wall a more collected, designer-styled look.
Color Selection Guide
Choosing the right paint color is one of the most effective ways to transform a space. Neutral shades can create a refined atmosphere while still allowing décor and lighting to stand out.
Testing paint samples in multiple lighting conditions helps ensure the color works throughout the day. Certain shades perform especially well depending on the orientation of the room.
| Room Orientation | Recommended Color | Best For |
| North-facing | SW Repose Gray | Warming cool tones |
| South-facing | BM Edgecomb Gray | Balanced brightness |
| Low light | SW Alabaster | Opening darker spaces |
| Modern style | Black trim | Contemporary contrast |
| Classic style | Crown + baseboard | Elegant detailing |
Testing paint samples before committing is important. Tools like Sherwin Williams ColorSnap allow homeowners to preview shades and experiment with combinations.
A useful guideline when selecting colors:
- Aim for wall LRV (light reflectance value) of 60–70
- Use trim around 80+ LRV
- Choose ceilings around 85+ LRV
A simple professional trick is painting the ceiling the same color as the walls but with slightly higher brightness. This subtle adjustment adds depth and cohesion without additional design elements.
Conclusion
Luxury interiors are not always defined by expensive materials or major renovations. Often, the difference lies in thoughtful details—clean installation, intentional framing, and well-chosen color palettes.
By focusing on strategic upgrades and practical design techniques, homeowners can create spaces that feel elevated, comfortable, and visually refined while staying within a realistic budget.
Which small design upgrade has made the biggest difference in your home?
Share your experience in the comments and explore more home inspiration with You’re In Style.


