
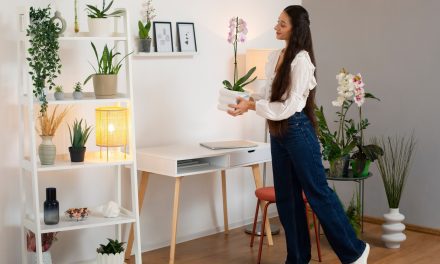
Blank walls have a way of quietly judging us. You move into a new place or rearrange a room, and suddenly those empty spaces feel like they’re asking, “So… you’re just leaving me like this?” Thankfully, decorating them doesn’t have to mean expensive prints or complicated tool-heavy projects.
One of the easiest and most surprisingly polished ways to upgrade your walls is framed fabric art—a DIY hack that turns ordinary textiles into décor with depth, warmth, and personality.
It adds color without repainting, texture without splurging, and creativity without requiring expert-level crafting skills. Think of it as the perfect middle ground: stylish enough to look intentional, simple enough to finish in one relaxed afternoon, and fun enough to make you wonder why you didn’t try it sooner.
Materials Needed
Creating framed fabric art starts with simple, inexpensive materials that work together to give your wall more depth and dimension.
Choose cotton or linen fabrics, since their clean weave and matte texture help patterns look intentional rather than accidental. Pair your fabric with a reliable frame—like IKEA’s Ribba frame at $19.99—and gather scissors, fabric glue, and a ruler for clean, precise alignment.
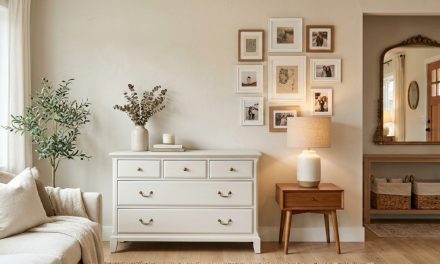
Cut the fabric slightly larger than the frame’s backing so you can wrap the edges neatly. Fabric glue helps keep everything smooth and taut, preventing unwanted wrinkles that distract from the artwork. If you’re feeling extra creative, trims or ribbons from craft stores like Michaels can add texture or subtle contrast. Displaying your finished piece on shelves or gallery walls instantly makes the space feel curated without requiring pricey art prints.
Step-by-Step Instructions
Creating your framed fabric art is simple and quick, but the results look far from rushed. Start by cutting the fabric to size, leaving enough allowance to fold over the edges. Glue the fabric securely to the backing, smoothing as you go to keep tension even. Slide the backing into the frame, making sure the pattern orientation looks intentional—especially if you’re using stripes or geometric designs.
If you’d like to personalize the piece further, add embellishments like stitched buttons, fabric-marker outlines, or decorative trim. These small details take only about 15 minutes but can dramatically change the character of the artwork.
Choose a frame color that contrasts with your fabric for a crisp, gallery-worthy finish. Once complete, hang it using proper wall anchors so your new art stays where you put it—even if your walls occasionally test your patience.
Conclusion
Framed fabric art offers an easy, budget-friendly way to elevate your walls with color, pattern, and personality.
With only a few materials and a small time investment, you can create pieces that look custom, feel meaningful, and add visual warmth to any room. Whether part of a gallery layout or displayed on their own, these creations help your space feel more intentional, expressive, and uniquely yours.
If you could turn one unexpected fabric pattern into stunning wall art, what would you choose? Find fresh décor ideas, styling inspiration, and smart budget picks at You’re In Style.


