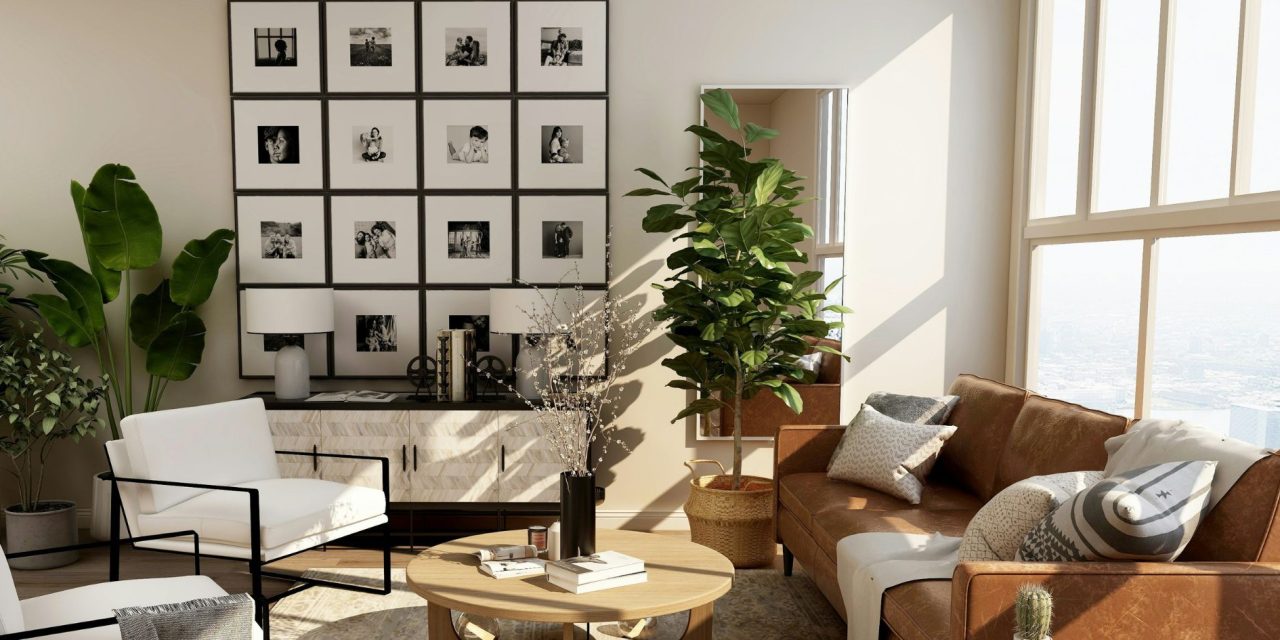
Some memories deserve better than sitting forgotten in your camera roll. A photo collage wall turns those favorite snapshots into part of your home, adding personality without requiring a complete décor overhaul.
The trick is making the display look intentional rather than like your printer, tape, and a sudden burst of nostalgia took over the wall. A little planning before you start can make the finished arrangement feel cohesive, balanced, and effortlessly stylish.
Planning Your Layout
Before putting a single frame on the wall, map out your arrangement. A simple 3×3 grid provides an easy starting point, but you can adjust the layout depending on your wall size and the number of photographs you want to display.
Lay your frames on the floor first and experiment with different arrangements. Once you’ve found one you like, use strips of painter’s tape to mark the corners and spacing of each frame.
Leave at least two inches between frames for a balanced appearance. Measure each frame rather than relying on assumptions, particularly if you’re combining different sizes.
Take a photo of your finished floor arrangement before transferring it to the wall. That reference makes hanging everything considerably easier and saves you from repeatedly stepping back, squinting at the wall, and wondering why frame number seven suddenly looks wrong.
For a more polished result, keep one element consistent throughout the arrangement. Matching frame colors, similar photo tones, or a consistent spacing pattern can make different memories feel like one cohesive display.
Tips for Printing Photos
Good printing can make the difference between a photo wall that looks professionally finished and one that feels slightly underwhelming.
Choose a reliable photo-printing service and compare prices before placing a larger order. Services such as Shutterfly and Snapfish offer standard print sizes and frequently run promotions, which can help keep the project affordable.
Upload the highest-quality versions of your photographs available. A resolution of around 300 DPI is a useful benchmark for sharp, detailed prints, particularly when enlarging images.
Think about the finish, too. Matte prints tend to reduce glare and can give the display a softer, more refined appearance. Glossy prints produce stronger contrast and brighter colors but may reflect more light depending on where your wall sits.
Stick to standard sizes such as 8×10 or 5×7 whenever possible. Standard dimensions make it easier to find affordable frames and avoid unnecessary custom-framing costs.
Before ordering dozens of prints, check your measurements, frame sizes, and preferred finish. Nothing says “I got carried away” quite like receiving 30 beautiful photographs that don’t fit the frames you bought.
Conclusion
A beautiful photo collage wall doesn’t require complicated design skills or an expensive décor budget. Plan the arrangement before hanging anything, keep your spacing consistent, and choose high-quality prints that complement the frames.
Most importantly, choose photographs that actually mean something to you. The finished wall should feel like your story on display, not a showroom pretending to have a family.
If your favorite memories are currently trapped somewhere between your camera roll and “I’ll print those someday,” consider this your sign. 📸 Turn those forgotten favorites into something worth seeing every day with more home-style inspiration from You’re In Style.